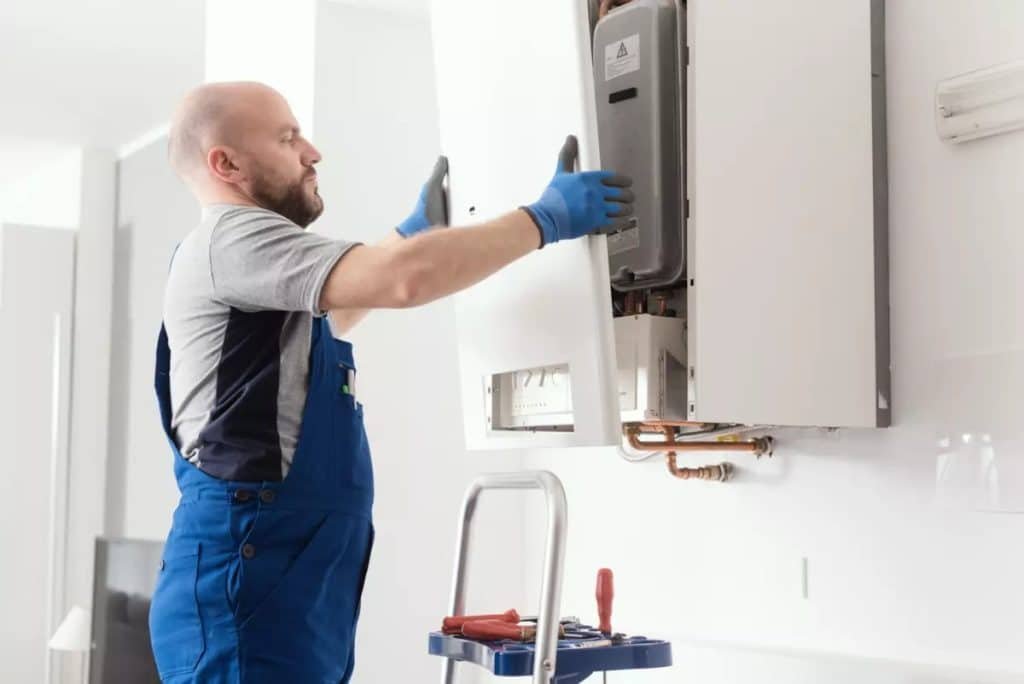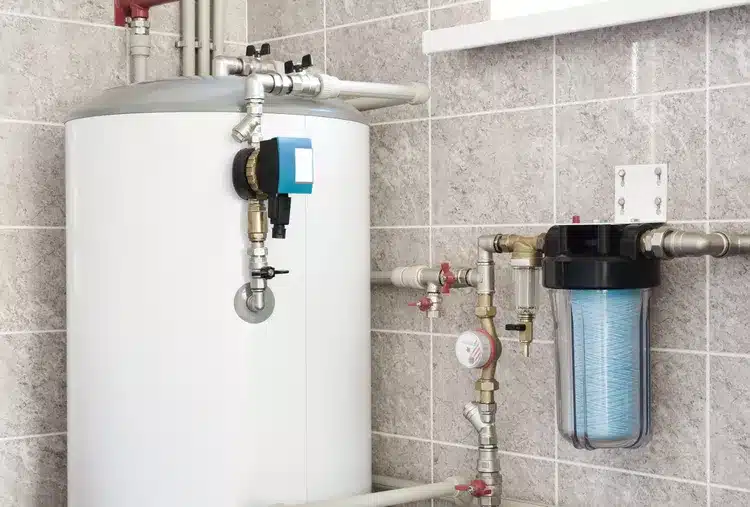
Your water heater plays a vital role in your household, providing the comfort of hot water for various daily activities, from soothing showers to preparing hot beverages. However, over time, sediment and mineral deposits can accumulate in your water heater, affecting its efficiency and overall lifespan. Regular maintenance, including thorough cleaning, is essential to ensure your water heater operates at its best. In this in-depth guide, we’ll walk you through the step-by-step process of cleaning your water heater and provide additional insights into maintenance practices to keep it running smoothly.
Why Clean Your Water Heater?
Your water heater is a workhorse, and keeping it clean offers several advantages:
- Improved Efficiency: Sediment buildup can hinder the heating element’s performance, making your water heater work harder to heat the water. Regular cleaning ensures optimal efficiency, saving energy and reducing utility costs.
- Extended Lifespan: Like any appliance, your water heater has a lifespan. Regular maintenance, including cleaning, can significantly extend its longevity. A well-maintained unit is less likely to experience breakdowns or failures.
- Better Water Quality: Sediment accumulation can affect the quality of your hot water. Cleaning the water heater removes impurities, ensuring clean and safe hot water for your daily use.
Step 1: Turn Off the Power
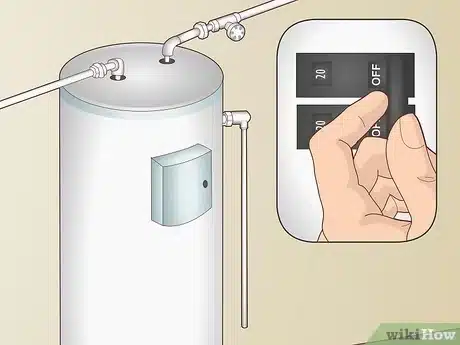
Safety is paramount when performing maintenance on your water heater. Before you begin, turn off the power supply. For electric water heaters, switch it off at the circuit breaker. For gas heaters, turn the gas valve to the “pilot” setting.
Step 2: Turn Off the Water Supply
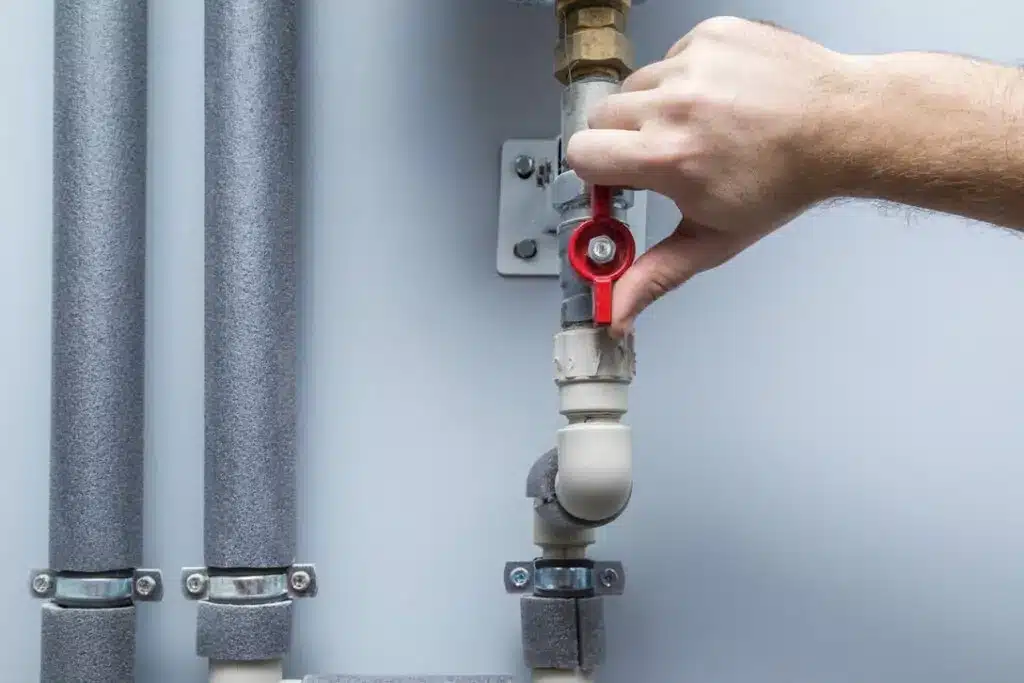
Locate the cold water supply valve and shut it off. This prevents new water from entering the tank during the cleaning process.
Step 3: Draining the Tank for Optimal Cleaning
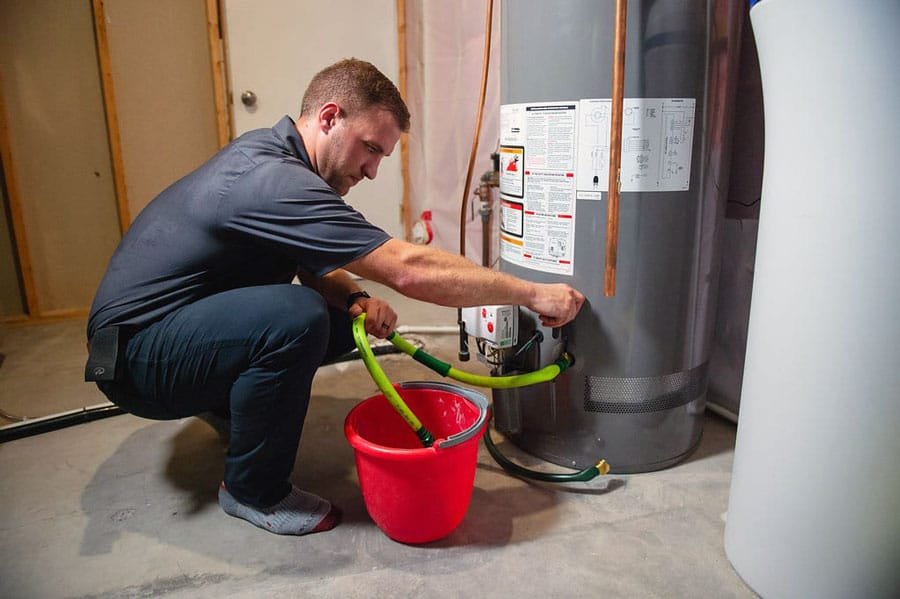
Hose Attachment:
Begin the crucial process of draining your water heater by securely attaching a garden hose to the designated drain valve located at the base of the unit. This hose will serve as the conduit for directing expelled water and sediment away from the water heater. Ensure the hose is tightly fastened to prevent leaks and maximize efficiency during the draining process.
Hose Placement:
Run the other end of the hose to a nearby drain or outside, providing a clear pathway for the water and sediment to exit the system. This strategic placement ensures a seamless and controlled evacuation of accumulated debris, preventing any potential mess or water damage in your utility area.
Valve Activation:
With the hose properly in place, initiate the draining process by opening the pressure relief valve. Simultaneously, open the drain valve, allowing the water to flow out steadily. This dual valve activation is a key step in expelling sediment and debris that may have settled at the bottom of the tank over time.
Exercise Caution:
Exercise caution during this step, as the water being expelled can be hot. Ensure you take necessary safety measures, such as wearing protective gloves, and be mindful of the temperature to avoid any accidental burns. This careful approach guarantees a safe and effective water heater cleaning process.
Why Draining Matters:
Properly executing this step is essential for the thorough cleansing of your water heater. Draining effectively eliminates accumulated sediment, which, if left unchecked, can lead to decreased efficiency and potential damage to the heating element. By understanding the significance of each component in this step, you contribute to the overall health and longevity of your water heating system.
Step 4: Flush Out Sediment
Clear Water
Once the water runs clear, close the drain valve and disconnect the hose.
Turn on the Cold Water
Turn on the cold water supply to the heater to flush out any remaining sediment through the open pressure relief valve.
Step 5: Inspect the Anode Rod
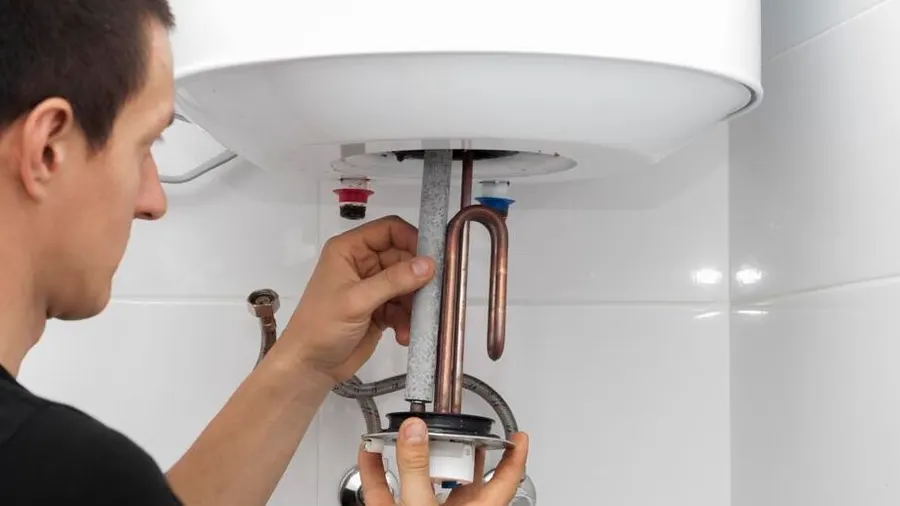
Corrosion Check
The anode rod is a sacrificial component that prevents corrosion inside the tank. Inspect the rod for signs of wear and replace it if necessary.
Step 6: Clean the Pressure Relief Valve
Check for Leaks
Inspect the pressure relief valve for any signs of leaks or corrosion. Test the valve by lifting the lever and letting it snap back into place.
Step 7: Refill and Restore
Close the Valve
Close the pressure relief valve and turn on the cold water supply to the heater.
Restore Power
Let the tank fill completely before restoring power. For gas heaters, turn the gas valve back to the desired setting.
Step 8: Check for Leaks
Inspect the area around the water heater for any leaks. Tighten any loose connections and address any issues promptly to avoid water damage.
Proactive Maintenance Measures for Your Water Heater
Temperature Regulation:
Ensure the optimal performance of your water heater by setting the temperature to a safe and energy-efficient level. Typically, maintaining the thermostat at around 120°F (49°C) strikes a balance between safety and efficiency. This moderate temperature not only prevents scalding but also minimizes energy consumption, contributing to overall cost savings.
Regular Inspections:
Incorporate periodic inspections into your maintenance routine to identify potential issues early on. Keep a vigilant eye out for signs of rust, corrosion, or water leaks around the water heater. Detecting these issues in their infancy allows for timely intervention, preventing more significant problems that could compromise the unit’s functionality.
Adhering to Manufacturer’s Guidelines:
Follow the specific maintenance and cleaning intervals outlined by the manufacturer. These guidelines are designed to optimize the performance and longevity of your water heater. By adhering to the manufacturer’s recommendations, you ensure that your maintenance efforts align with the unit’s specifications, promoting efficiency and reliability.
Insulation Consideration:
Enhance the efficiency of your water heater by contemplating insulation. Insulating the unit minimizes heat loss, ensuring that the water stays hot for longer periods without excessive energy consumption. This additional layer of insulation is a proactive measure that contributes to energy efficiency and cost-effectiveness over time.
Regular Flushing Schedule:
Implement a regular flushing schedule for your water heater to stave off sediment buildup. Periodic flushing purges accumulated sediment, preventing it from settling at the bottom of the tank. This practice not only maintains water quality but also preserves the unit’s efficiency by allowing the heating element to function unimpeded.
TPR Valve Testing:
Conduct an annual test of the Temperature and Pressure Relief (TPR) valve to verify its correct functioning. This safety valve plays a crucial role in releasing excess pressure, safeguarding your water heater from potential hazards. Regular testing ensures that the TPR valve remains responsive and ready to act if needed.
Comprehensive Maintenance for Longevity:
These additional tips, when integrated into your maintenance routine, contribute to its longevity and efficient operation. By adopting a proactive approach, you not only ensure a consistent supply of hot water but also reduce the risk of unexpected breakdowns and the associated repair costs. Investing time in these preventive measures pays off in the form of a reliable and cost-effective water heating system over the years.
Conclusion
Cleaning your water heater might seem like a daunting task, but with a systematic approach, it becomes a manageable DIY project. Regular maintenance not only improves the performance of your water heater but also extends its lifespan, saving you money in the long run. Remember, a clean water heater is a happy water heater!
Now that you have a detailed guide on how to clean your water heater, put on your DIY hat, and give your trusty appliance the care it deserves.
Read more article ! visit here