When it comes to heating your home efficiently and in an environmentally friendly manner, pellet stove are an excellent choice. These stoves utilize compressed wood pellets as fuel, providing a sustainable and cost-effective heating solution. However, the installation process, particularly setting up the pellet stove pipe, can be a bit challenging for beginners. In this guide, we’ll walk you through the step-by-step process of installing a pellet stove pipe, ensuring a safe and efficient heating system for your home.
Checking Local Building Codes:
Before starting the installation, check your local building codes and regulations. Different areas may have specific requirements for stove pipe installations, including clearance distances from combustible materials. Adhering to these regulations is crucial to ensure both safety and compliance.
Understanding the Basics of Stove Pipes:
Before diving into the installation process, it’s crucial to grasp the fundamentals of stove pipes. Stove pipes, also known as chimney connectors, are responsible for venting the exhaust gasses produced by the pellet stove out of your home. They play a pivotal role in maintaining a clear and safe passage for the combustion byproducts.
Selecting the Right Type of Stove Pipe:
Pipes come in various materials, such as stainless steel and galvanized steel. Choose a pipe that is compatible with your pellet stove and meets the necessary quality standards. Stainless steel pipes are often preferred for their durability and corrosion resistance.
Understanding Pipe Diameter and Venting Systems:
Pellet stoves may have specific requirements for the diameter of the stove pipe. Additionally, some stoves may require a specific type of venting system. Refer to your stove’s manual to determine the correct pipe diameter and venting specifications for optimal performance.
Using Insulation Where Necessary:
In colder climates, it may be beneficial to insulate the stove pipe, especially if it passes through an unheated space like an attic. Insulation helps maintain proper draft and prevents condensation, reducing the risk of corrosion over time.
Sealing Joints with High-Temperature Sealant:
To enhance the airtightness of the pipe joints, consider using high-temperature sealant. Apply the sealant to the seams and connections to prevent any air leaks, ensuring efficient venting and preventing smoke from entering your living space.
Installing a Draft Inducer:
In some cases, installing a draft inducer can improve the efficiency of your pellet stove by assisting in creating a consistent draft. This is particularly helpful if your installation involves an extended vertical vent run or if you’re experiencing draft issues.
Gathering Essential Tools and Materials:
To start the installation, gather all the necessary tools and materials. You’ll typically need a tape measure, screwdriver, chimney brush, wall thimble, pipe sections, and a compatible chimney cap. Ensure that all components meet the safety standards and regulations for your region.
Choosing the Right Location:
Selecting an appropriate location for your pellet stove is crucial. It should be near an electrical outlet and have proper clearances from combustible materials. Once you’ve determined the stove’s location, you can plan the route for the pipe.
Measuring and Cutting the Stove Pipe Sections:
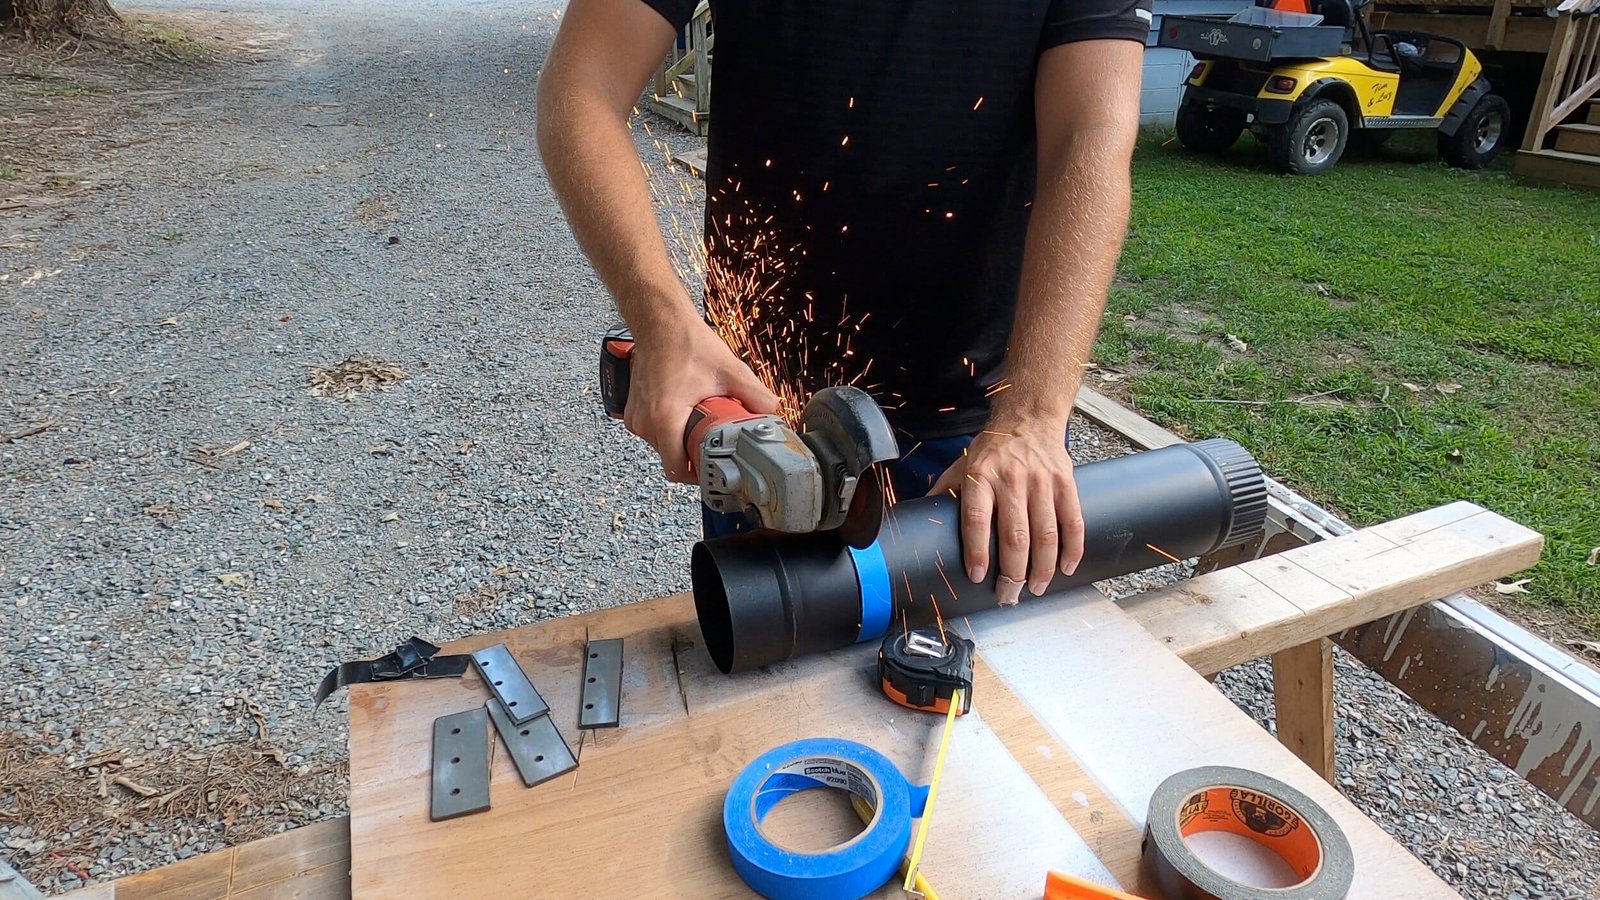
Use a tape measure to determine the length of stove pipe required for your installation. Remember to account for any elbows or offsets in the pipe. Carefully cut the sections to the specified lengths using a suitable cutting tool.
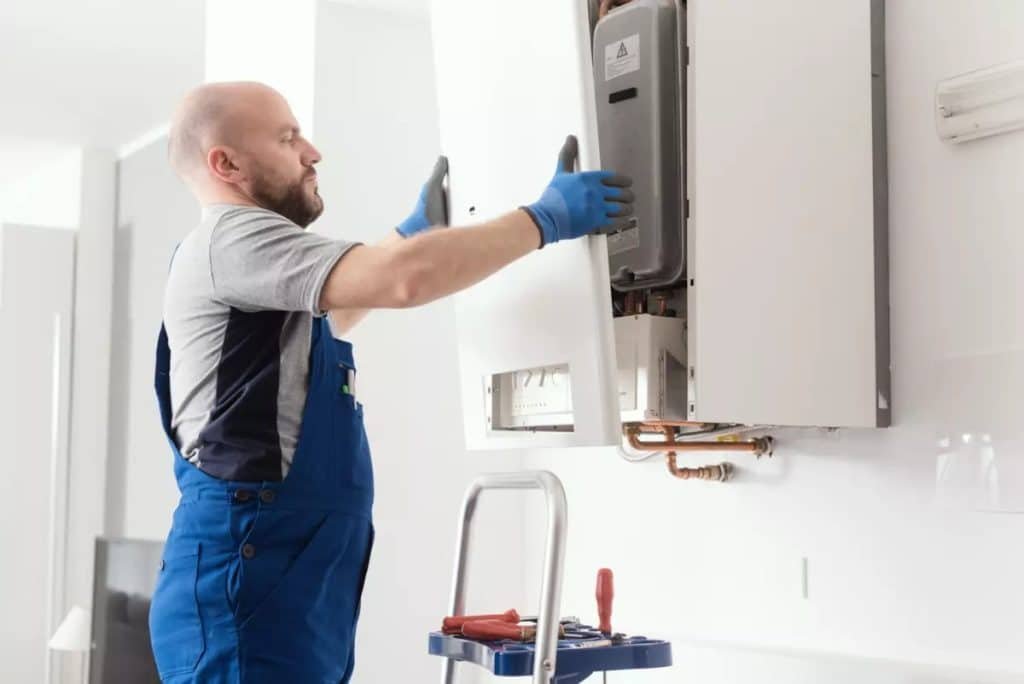
Connecting the Stove Pipe to the Pellet Stove:
Begin the installation by connecting the stove pipe to the pellet stove’s flue outlet. Follow the manufacturer’s guidelines for securing the connection, usually involving screws or clamps. Ensure a tight fit to prevent any leaks.
Installing the Wall Thimble:
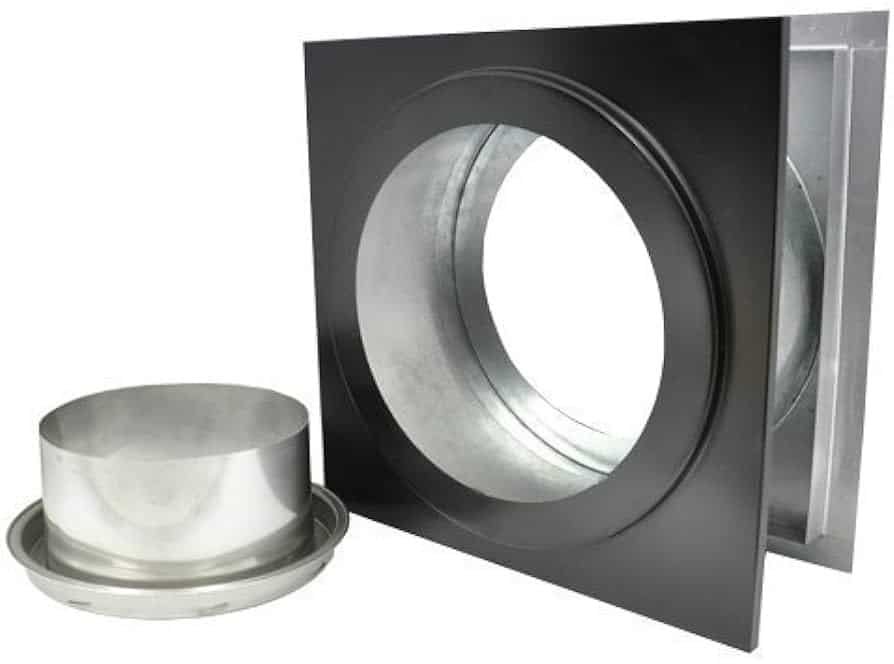
If your stove pipe passes through a wall, you’ll need to install a wall thimble. This component helps maintain a safe clearance between the pipe and the wall. Secure the thimble in place according to the manufacturer’s instructions.
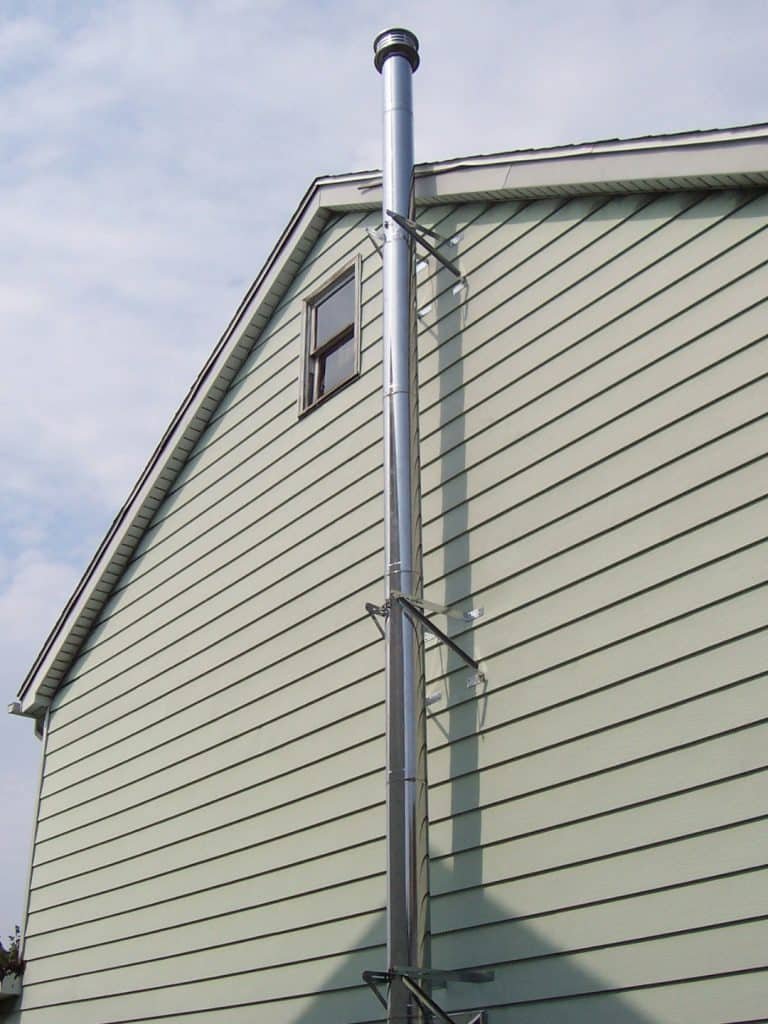
Running the Stove Pipe Through the Ceiling or Wall:
Carefully run the stove pipe through the ceiling or wall, making sure it follows a straight and upward trajectory. Avoid excessive horizontal runs, as they can hinder proper draft and lead to poor stove performance.
Securing Joints and Seams:
As you assemble the stove pipe sections, ensure that all joints and seams are securely connected. This prevents any potential leaks that could compromise the efficiency of your pellet stove.
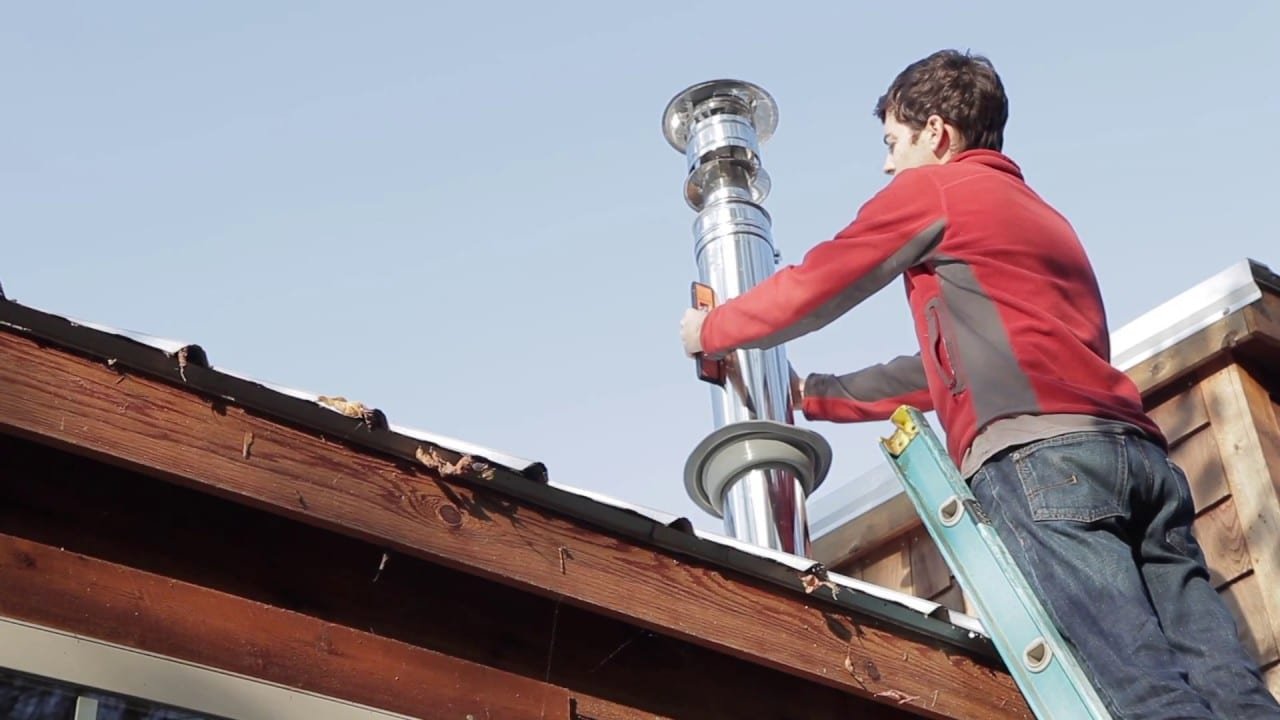
Installing the Chimney Cap:
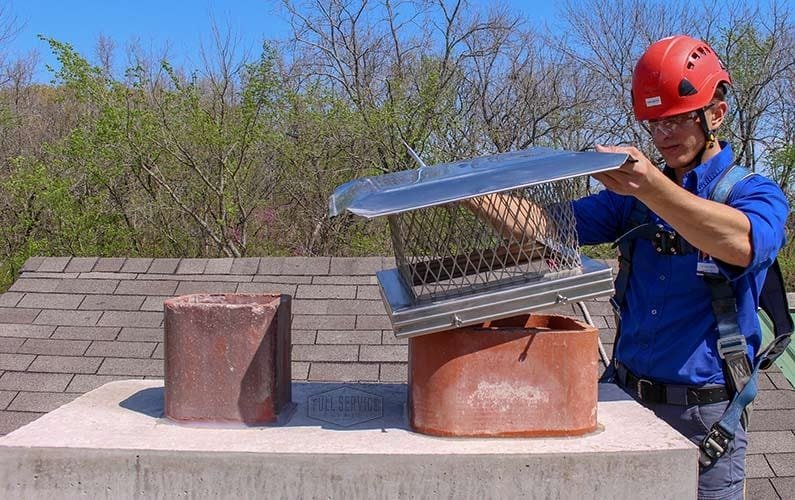
Complete the installation by adding a chimney cap to the top of the stove pipe. This cap prevents debris, animals, and rain from entering the chimney, ensuring the longevity and functionality of your pellet stove system.
Performing a Safety Check:
Once the installation is complete, perform a thorough safety check. Look for any signs of damage, ensure all connections are secure, and verify that the stove pipe meets the necessary clearance requirements.
Regular Cleaning and Maintenance:
To maintain the efficiency and safety of your pellet stove, establish a regular cleaning and maintenance routine. Use a chimney brush to clean the stove pipe and chimney, removing any creosote buildup that can pose a fire hazard.
Considering Professional Installation:
If you are unsure about any aspect of the installation process or if local regulations are complex, consider hiring a professional installer. Certified technicians have the expertise to ensure a safe and compliant installation, giving you peace of mind.
Ensuring Proper Ventilation in the Room:

Adequate room ventilation is essential when operating a pellet stove. Ensure that the room has sufficient air circulation to support combustion and proper venting. This can contribute to the overall efficiency and safety of your heating system.
Monitoring for Signs of Issues:
After installation, regularly monitor your pellet stove for any signs of issues, such as smoke leakage or reduced heating efficiency. Addressing potential problems promptly can prevent more significant issues and prolong the lifespan of your pellet stove.
By incorporating these additional points into your pellet stove pipe installation process, you’ll not only enhance the efficiency and safety of your heating system but also ensure its longevity and compliance with local regulations. Remember, a well-installed stove pipe is a key component in maintaining a warm and comfortable home during the colder months.
Frequently Asked Questions (FAQs):
What type of stove pipe material is best for a pellet stove?
Ans: Stainless steel is often recommended for pellet stove pipes due to its durability and corrosion resistance. Ensure the selected material complies with the manufacturer’s specifications and local regulations.
How do I determine the correct diameter for the stove pipe?
Ans: Refer to your pellet stove’s manual for the recommended pipe diameter. Using the wrong diameter can impact the stove’s efficiency, so it’s essential to adhere to the manufacturer’s specifications.
Can I run the stove pipe horizontally through a wall, or does it need to go straight up?
Ans: While some horizontal runs are permissible, it’s generally recommended to minimize them. Vertical runs promote better draft and overall stove efficiency. If horizontal runs are necessary, follow the manufacturer’s guidelines and local building codes.
Is insulation necessary for a pellet stove pipe installation?
Ans: In colder climates or if the stove pipe passes through an unheated space, insulation is advisable. Insulating the pipe helps maintain proper draft, prevents condensation, and improves overall heating efficiency.
Do I need a chimney cap for the pellet stove pipe?
Ans: Yes, installing a chimney cap is crucial. It prevents debris, animals, and water from entering the chimney, ensuring the longevity and proper functioning of your pellet stove system.
How often should I clean the pellet stove pipe?
Ans: Regular cleaning is essential to prevent creosote buildup, a potential fire hazard. Clean the stove pipe and chimney at least once a year, but more frequent cleaning may be necessary based on usage and local conditions.
Can I use an existing chimney for a pellet stove installation?
Ans: It’s possible to use an existing chimney, but it must be properly lined with a stainless steel liner suitable for pellet stoves. Consult with a professional to ensure compatibility and compliance with local regulations.
Conclusion:
Installing a pellet stove pipe may seem like a daunting task, but with careful planning and adherence to safety guidelines, it can be a rewarding DIY project. By following these step-by-step instructions, you can enjoy the warmth and efficiency of your pellet stove while ensuring a safe and well-vented heating system for your home. Remember to consult the manufacturer’s guidelines throughout the process and, if needed, seek professional assistance to guarantee a successful installation.
Read more article! visit here